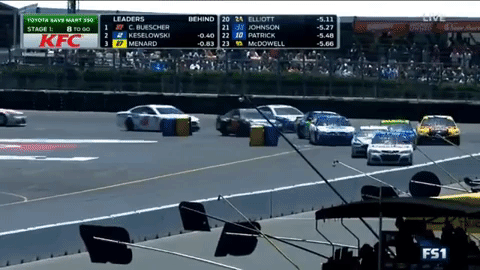
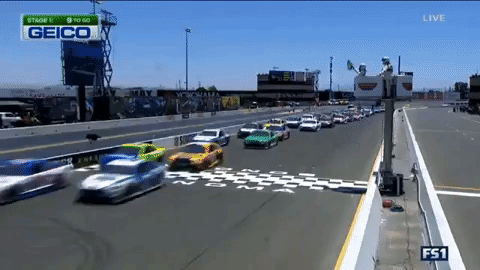
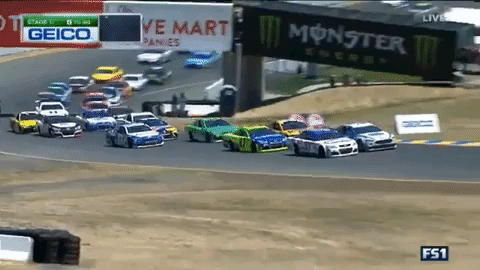
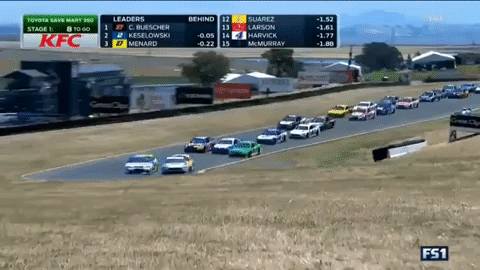
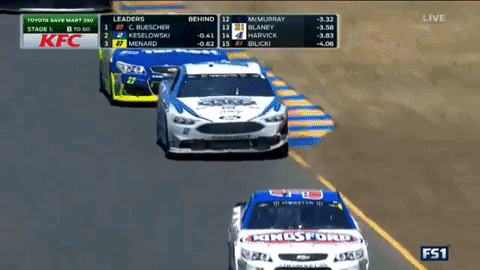
The Monster Energy NASCAR Cup Series will take on the first of three road courses on the circuit as they head to Sonoma Raceway, nestled in the Wine Country of California and located just outside of San Francisco.
Each of the track’s 12 turns provides a unique challenge for drivers, especially with the return of ‘The Carousel.’ Ahead of Sunday’s Toyota/Save Mart 350 (3 p.m. ET on FS1, PRN, SiriusXM NASCAR Radio), take a lap around the 2.52-mile California road course as we break down every twist and turn.
RELATED: Wildest moments in Sonoma’s Turn 11 | Full weekend schedule
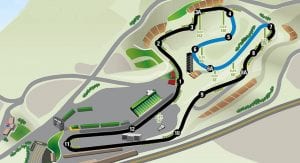
Turn 1: Once drivers take the green flag, they are faced with a sweeping uphill left-hander, beginning the climb up to the highest part of the road course.
Turn 2: Drivers are then approached with a right-hand turn up to a quick short-chute where the elevation plateaus before climbing up another hill to Turns 3 and 3a.
Turns 3 and 3a: Once they are through the short-chute, drivers head downhill a tad for a quick left-hand corner, then back up a hill for quick right-hand turn — the highest point of the road course. After taking those corners, a huge downhill run awaits them.
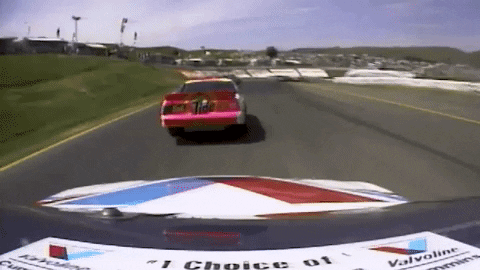
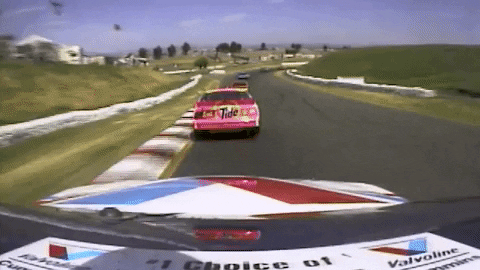
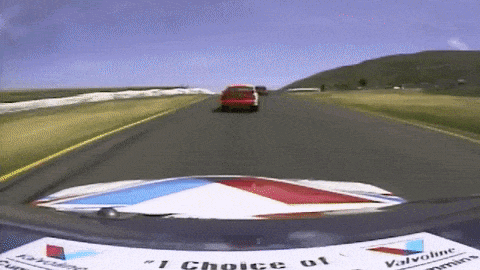
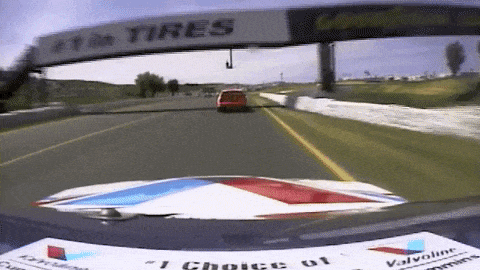
Turn 4: Shoot, what chute? ‘The Carousel’ makes its return, a three-turn section of the course that was last run in the Monster Energy NASCAR Cup Series in 1997. As we ride with Mark Martin below, you can see the first turn into the section is a heavy, downhill right hander.
Turn 5: Drivers will build a little speed through this quick right-hand corner. Once they’re through the apex, they will make the climb up the hill, which makes for a blind entry into Turns 6 and 6a.
Turns 6 and 6a: A blind entry into this pair of corners isn’t the only reason why it’s so treacherous. A rapid downward undulation into the sweeping left hander challenges the drivers to slow the car down enough to make the corner, but carry enough momentum to set themselves up well for the passing zone in Turn 7 — or get passed!
Turn 7: This is a great place for drivers to make a move. They can use momentum off Turn 6a to set up the pass down the straightaway, then complete it through this right-hand corner.
Turns 8 and 8a: These turns, or the “esses” are a series of quick right- and left-hand corners. Drivers build up a ton of speed through these turns to set them up for Turn 9.
Turn 9: This sweeping left-hand turn gives drivers the chance to hold it wide open and carry a huge amount of speed. Turns 9 and 10 are where drivers reach the highest speed on the road course.
Turn 10: After going through Turn 9, drivers are met with this quick right-hand corner, launching them onto the short-chute, which leads them into Turn 11.
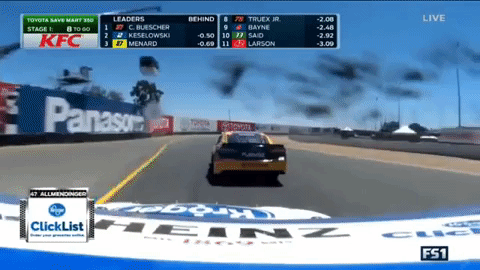
Turn 11: Just like the entrance of Turn 4a, this is another heavy braking zone. Carrying a great amount of speed, drivers have to slow the cars down in order to take the right-hand hairpin turn. Calamity often happens here, where drivers lose control because of heavy braking, or run into the back of other cars trying to make the turn.
Turn 12: This very tight and narrow left-hander is the final corner drivers take before reaching the start/finish line.